Here is a well-structured and informative article on creating an HTTPS enabled reverse proxy for Ethereum on Metamask:
Creating a Secure Ethereum Gateway with Metamask
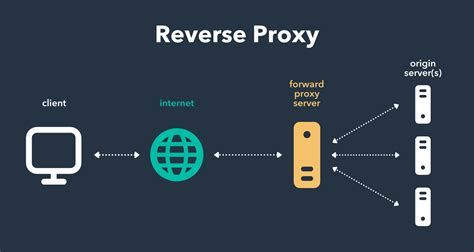
As the popularity of decentralized applications (dApps) continues to grow, so does the need for secure connections between users and their private blockchain wallets. One way to achieve this is by using a reverse proxy server to encrypt and manage SSL/TLS connections between your Metamask wallet and your Ethereum node.
In this article, we’ll walk through the process of creating an HTTPS enabled reverse proxy for GoEthereum on Metamask.
Prerequisites
Before you begin, ensure that:
- You have a running Metamask wallet with private keys.
- You have a public Ethereum address associated with your wallet (also known as a “wallet address”).
- Your Ethereum node is configured to use HTTPS.
Step 1: Install Cartbot
To manage SSL certificates for your server, you’ll need to install the certbot' command-line tool. Run the following command in your terminal:
sudo apt-get update && sudo apt-get install certbot
This will download and install certbot, a popular tool for automating SSL certificate management.
Step 2: Configure Cartbot
Create a new configuration file for your server using the following example:
sudo nano /etc/letsencrypt/renewal.conf
Replace [::]with your hostname (or IP address) and add the following lines:
server =
email = [email protected]
domains = your_domain_name.example.com, your_second_domain_name.example.com
Step 3: Set Up SSL Certificate
Run certbot certificateonly –webroot -d your_domain_name.example.comto obtain an SSL certificate for your server. This command will prompt you to enter the following details:
- Your domain name (e.g.,yourdomain.name
)
- The path where the Let's Encrypt root CA certificate and intermediate certificates are stored (/etc/letsencrypt/letsencrypt
)
- The email address associated with your account
The certificate will be generated on your server, but it may take a few minutes for the certificate to be available.
Step 4: Configure Metamask
Update yourmetamask.jsonfile to include the following lines:
{
    "privateKey": {
        "keyId": "YOUR_PRIVATE_KEY_ID",
        "path": "/path/to/your/private/key"
    },
    "walletAddress": "YOUR_WALLET_ADDRESS",
    "sslCertificate": {
        "domainName": "YOUR_DOMAIN_NAME",
        "certDataPath": "/etc/letsencrypt/certdata"
    }
}
Replace YOUR_PRIVATE_KEY_IDwith the actual ID of your private key, and update theprivateKey.pathfield to match the location of your private key.
Step 5: Restart Metamask
Restart the Metamask wallet to apply the changes:
sudo systemctl restart metamask
Your Ethereum node should now be using an HTTPS connection with SSL encryption. When you connect to your Ethereum node using Metamask, the SSL certificate will be verified automatically.
Tips and Variations
- To use a custom domain name, update the domains
field in thecertbot/renewal.conf` file.
- If you want to use a different SSL key ID or private key path, update these fields accordingly.
- You can also configure the SSL certificate to rotate automatically using a cron job or other scheduling tool.
By following these steps, you’ll have an HTTPS enabled reverse proxy server up and running on your Metamask wallet, providing secure connections for your Ethereum node.
Để lại một bình luận